|
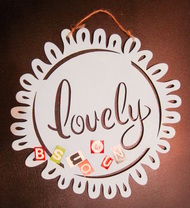
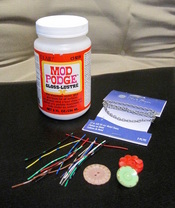
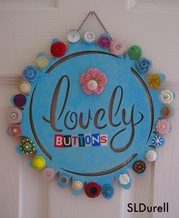
This was a quick project that allowed me to display some of my pretty buttons that had been previously stowed away. I started with a wooden wall plaque from Michael's that was on clearance. It only cost me a couple of dollars. I used blue craft paint for the front and brown craft paint for the back. For the lettering, I searched through old magazines for the letters I needed to form BUTTONS. It is important to decide on the right size of letters before cutting them out so that the word fits in the space. Mine are slightly under 1/2" tall and somewhat condensed. I used Modpodge glue to stick them on and then coated them and the entire plaque a few times with Modpodge, allowing time to dry in between coats. The next step was the fun part...searching for the buttons to use. I chose buttons with shanks because the shank would fit in the plaque's petal holes and make a more secure seating. I used coated wire to anchor the buttons on, pulling the wire through to the back and curling it on itself to make a plug of sorts. And finally, I replaced the straw string with a chain.
0 Comments
Leave a Reply. |
Sylvia Liszka Durell, AuthorOwner of HoleyButtons.com and a founding member of the Hernando County Button Collectors Group in Florida. Archives
June 2024
|


 RSS Feed